Here we go!
Miters (of extreme awesome):
1. Start with cutting the strips of fabric you'll be joining for your miter, so that there's lots of overlap. There's no need to be wasteful, but having enough extra to reach the corners and then an inch or so to spare just makes things a little more stress-free.
2. Attach your fabric to the quilt (or whatever you're making, I was making a quilt, so I'm just going to keep saying quilt, but miters could have lot of uses), right up to the corner.

3. Line up the miter, make it look right. It's not so important that it's a perfect 45 degree angle, as it is that it looks right.

4. Crease or finger press it. Because the lines may vary slightly once you actually sew it up, don't bother with ironing it now, you'll have to do that later. (*Note: if you're using a fabric that's too thick or stiff to finger press, then you'll have to iron it, just know that your lines may move slightly and you'll have to iron out that crease when you give it a final press).

5. Match up the right sides and pin so that the creases line up.


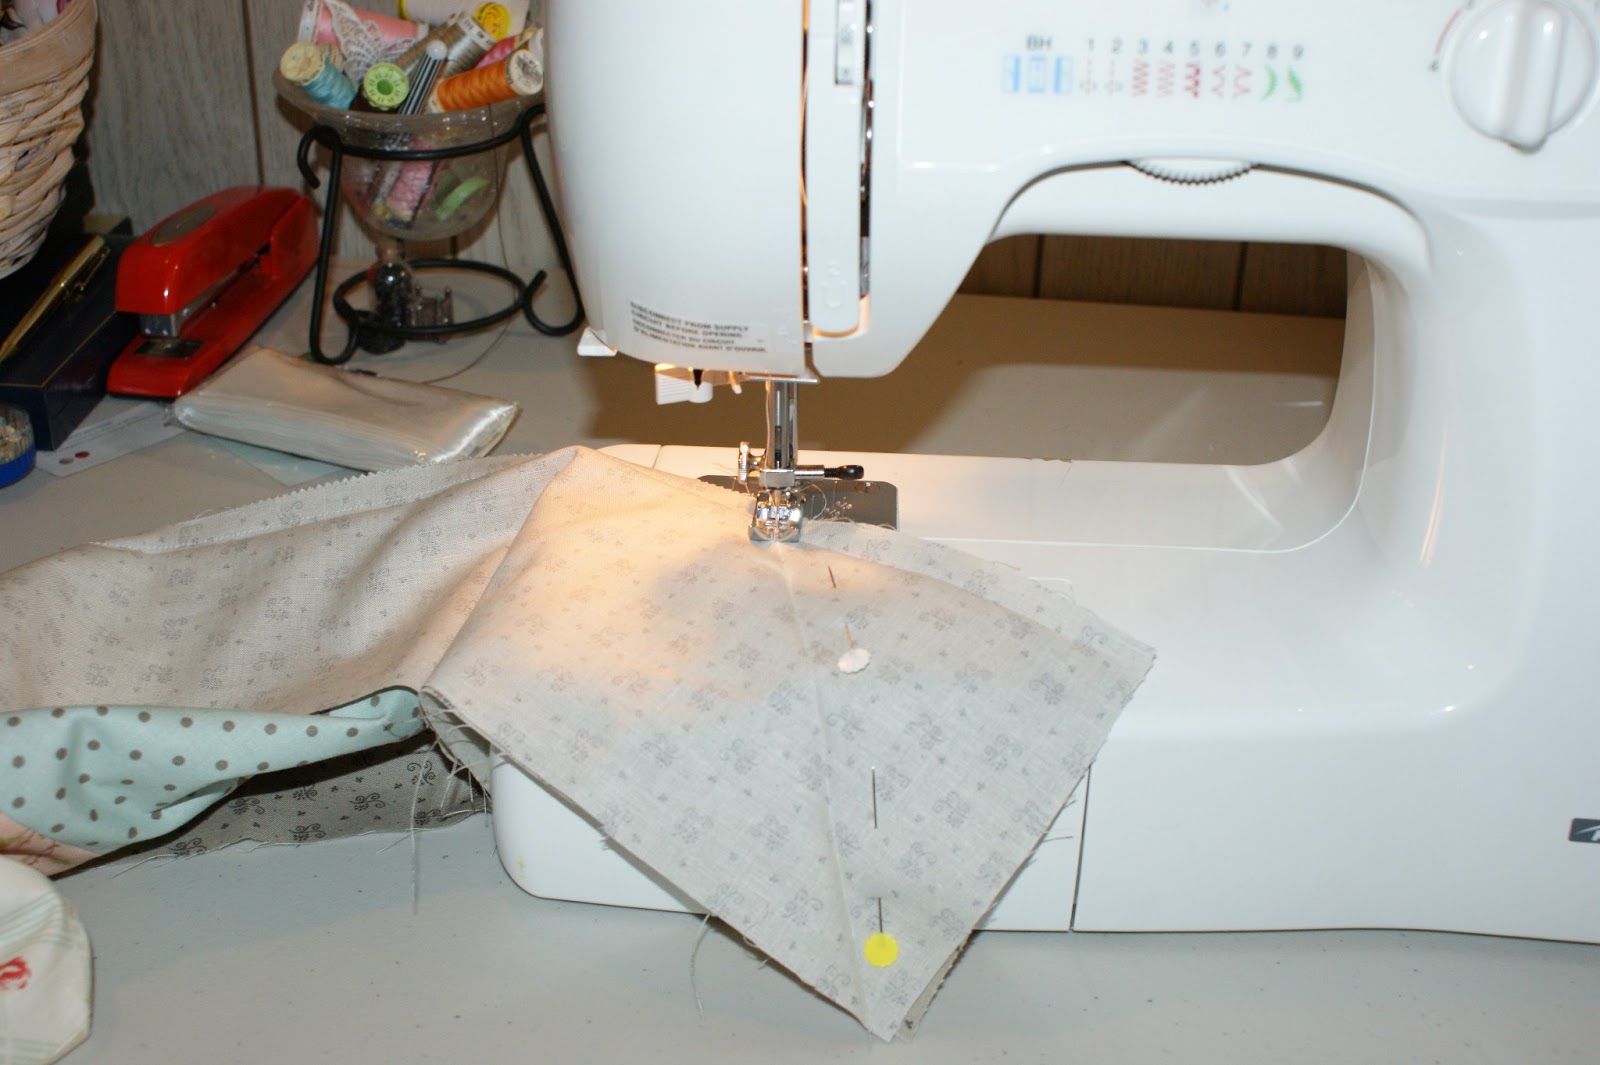
7. Time to sew! Sew it along the crease you made.

8. Now's the time for the proper press. Iron it so the seams lay open if you're quilting it with a pattern (ie not along the seams) otherwise, press the seams off to one side.

9. Trim it all so it's not so bulky and...


6. Lay it so the crease lines up and lies flat.


7. Time to sew! Sew it along the crease you made.
8. Now's the time for the proper press. Iron it so the seams lay open if you're quilting it with a pattern (ie not along the seams) otherwise, press the seams off to one side.

9. Trim it all so it's not so bulky and...

10. Love it!

Et voila! You have miters! I hope that this can be useful. I was pretty enthusiastic about it when I made mine up (which is something, miters aren't normally overly exciting things). Also as a final note, because most projects have four or more miters, feel free to bring all four up to the finger pressing stage, and then take a step back to check that they're even. That being said, I did mine one at a time and they turned out fine.
No comments:
Post a Comment